Zones Configuration
Zones, or to give them their longer name ‘Behavioral Merchandizing Zones’ or BMZs, are content areas that display PureClarity Banners, Images and intelligent Product, Category & Brand Recommenders. Before using PureClarity you need to install Zones in the relevant areas on your site. This can be done manually using PureClarity Magento Widgets.Creating Zone Widgets
Navigate to CMS → Widgets. Click the Add New Widget Instance button, in orange on the top right. Pick the type to be a PureClarity BMZ, then select the theme you want to use.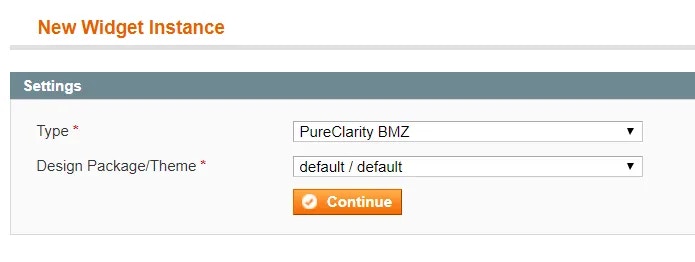
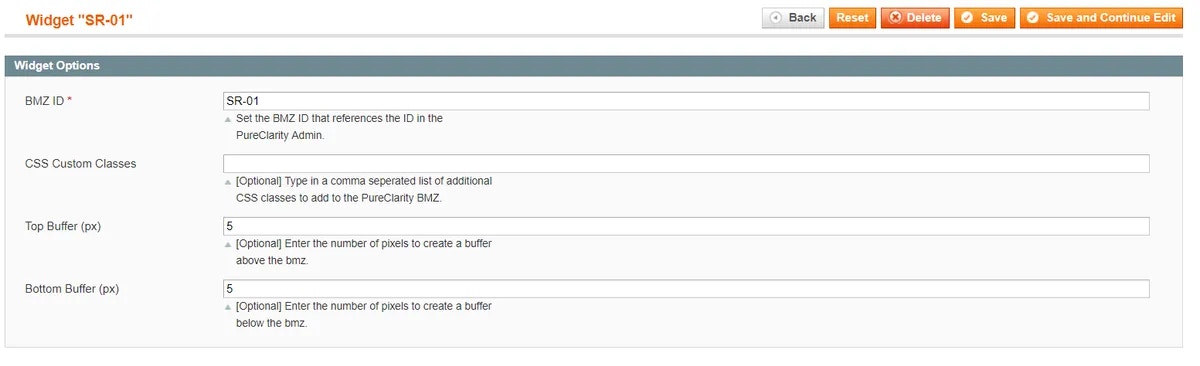
Each BMZ Id references the corresponding BMZ Id/Zone Name within the PureClarity Admin console, and allows you to configure what is displayed in that area.
Example: Adding a Search Results Zone
As an example of how to add your own BMZ widgets to your site, let’s add a BMZ to the Search Results Page from beginning to end:- Navigate to CMS > Widgets. Click Add New Widget Instance.
- Choose “PureClarity BMZ” from the Type drop down.
- Choose your current theme from the Design Theme drop down.
- Input a Widget Instance Title such as “PC BMZ SR-01” to represent a Search Results BMZ. Click Save and Continue Edit.
- Choose the page where you’d like your BMZ to be displayed. In this example we choose “All Pages” and “Left Column” from the Block reference.
- Select “Widget Options” from the left menu.
- Enter SR-01 into the BMZ Id box.
- Applying a margin will set a 10px margin above and below the BMZ content area.
- CSS Custom Class: You can add your own css classes that will be added to the BMZ html element for greater control of how it’s displayed.
- Click Save.
Feeds & Indexing
Product Data Options
You can augment each product with additional information, sent in the data feed, to control how PureClarity displays products. Go to Catalog > Manage Products and select an item to edit. On the lefthand menu bar, click PureClarity: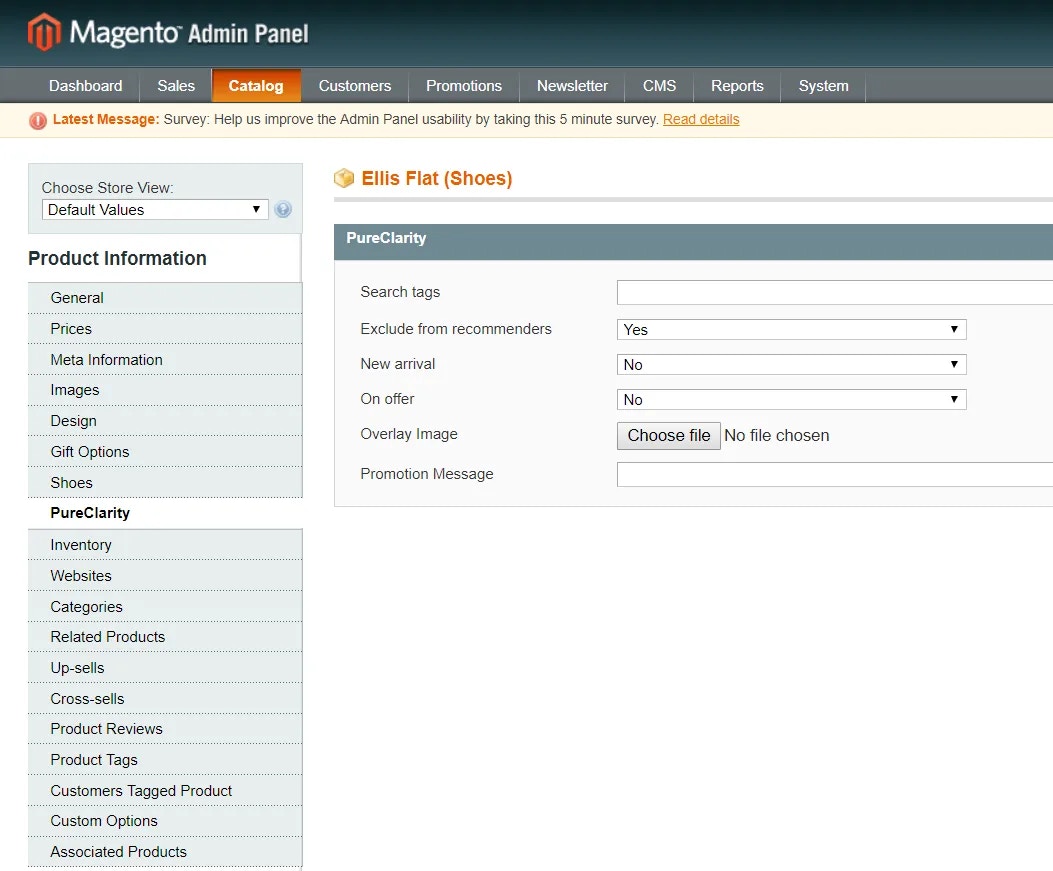
Search Tags
Search Tags are used in recommenders based on Search. You can add search tags to products, e.g. ‘Summer’, to boost the relevance of products based on visitors’ search terms. Enter a comma separated list of words or phrases that you’d like to be sent to PureClarity as Search Tags.Exclude from Recommenders
Set this to yes to stop a product from being included in PureClarity Recommenders. You may want to do this for small priced items.New Arrival
Set if a product should be treated as a new arrival by PureClarity. This enhances recommenders and helps to target customers by showing hot new arrival products that may interest them.On Offer
Set if a product should be treated as an on-offer product. This enhances recommenders and helps to target customers by showing them products that are on promotion. PureClarity will do this automatically if products are on sale, however, you may want to override this if a product doesn’t currently have a special price, but you’d like it to be treated as a promoted product.Image Overlay
You can set an additional overlay image to be placed over the product listing display. This could include an image such as “On Offer” or “Free Delivery”. To set the image, upload an image under the “Images and Videos” section under a product’s properties, and select the “PureClarity Overlay Image” as the image role by selecting the image and selecting the option from the Role list. You can add additional text to be sent with the product to PureClarity that can be used within the PureClarity template.Category Options
You can set an additional option for PureClarity against each category. To do this go to the PureClarity section on a categories properties page. The options available are:PureClarity Image
This allows you to set an additional category image should you wish to set one specifically for PureClarity category recommenders. To use this, you will need to alter the PureClarity template under the PureClarity admin console. In the most common cases PureClarity will work and use the categories’ standard image.Exclude from Recommenders
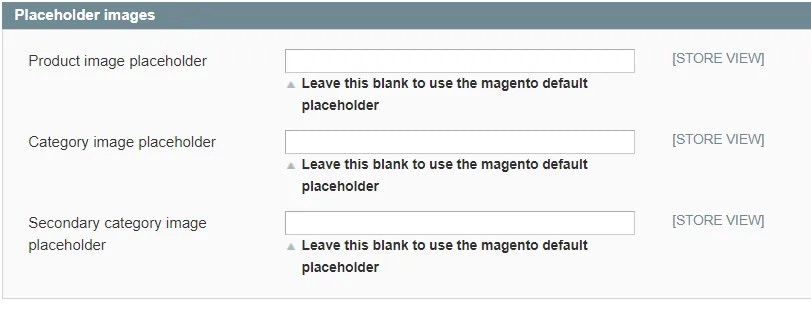
Set this to yes to stop a category from being included in PureClarity Recommenders.Placeholder Images
You can set fallback image URLs to be used where a product, category or brand doesn’t have any images set. To do this navigate to the PureClarity Configuration Page from the left hand menu, and set each URL using the text boxes under the “Placeholder images” section.