Accessing Zone Installation
On the PureClarity Dashboard page in Magento, locate the “Zones” box on the right side:
Installation Process
The “Install PureClarity Zones” popup allows you to configure zones for your active theme: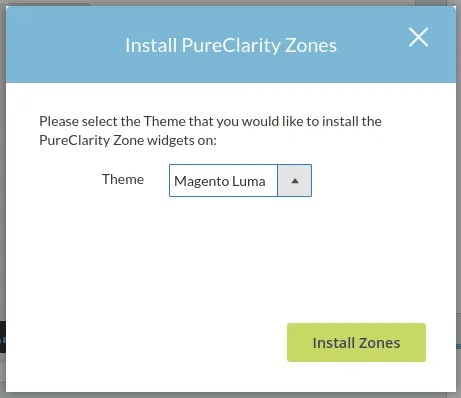
Ensure you select the correct active theme for your store in the “Theme” dropdown before proceeding.
- Select your active theme from the dropdown
- Click “Install Zones” to begin the process
- Review the installation status and generated Zone IDs
Default Zone Locations
The automatic installation creates zones across four key page types:Home Page
- HP-01 (content.top)
- HP-02 (content.bottom)
- HP-03 (content.bottom)
- HP-04 (content.bottom)
Product Page
- PP-01 (content.bottom)
- PP-02 (content.bottom)
Basket Page
- BP-01 (content.bottom)
- BP-02 (content.bottom)
Order Confirmation Page
- OC-01 (content.bottom)
- OC-02 (content.bottom)
Each Zone ID corresponds to the same Zone ID in your PureClarity Admin dashboard. Zones will only display content once you have created and enabled campaigns in the PureClarity admin.
Cache Clearing Required
After installation, you must clear the following Magento caches for zones to appear on your frontend:- Layouts
- Blocks HTML output
- Page Cache